Learn how to store wood pellets so they stay dry and ready to burn. This guide explains what pellets are, why storage matters, and step-by-step practices for location, packaging, moisture checks, and hopper care.
What wood pellets are
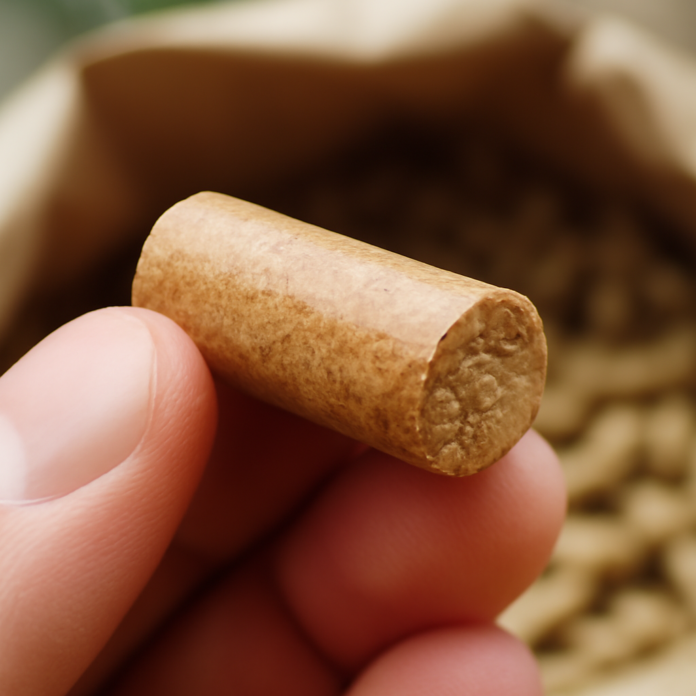
Wood pellets are small, dense cylinders of compressed sawdust used as fuel for pellet grills and smokers. Manufacturers mill and dry hardwood sawdust, then compress it under high pressure; the wood’s natural lignin softens and binds the material. In food-grade pellets, that bond comes from the wood itself—no cooking-incompatible glues are used. If you’re shopping for a unit, compare top pellet smokers before you buy fuel in bulk.
Key characteristics you should know:
- Size and density: Typically about 1/4-inch in diameter. Their uniform size and high density support consistent feeding and steady burn.
- Wood species: Common choices include oak, hickory, apple, cherry, and blends. Species influence smoke strength and flavor.
- Food-grade vs. heating pellets: For cooking, stick to food-grade hardwood pellets without chemical additives or oils. Heating pellets may include softwoods or binders not intended for food.
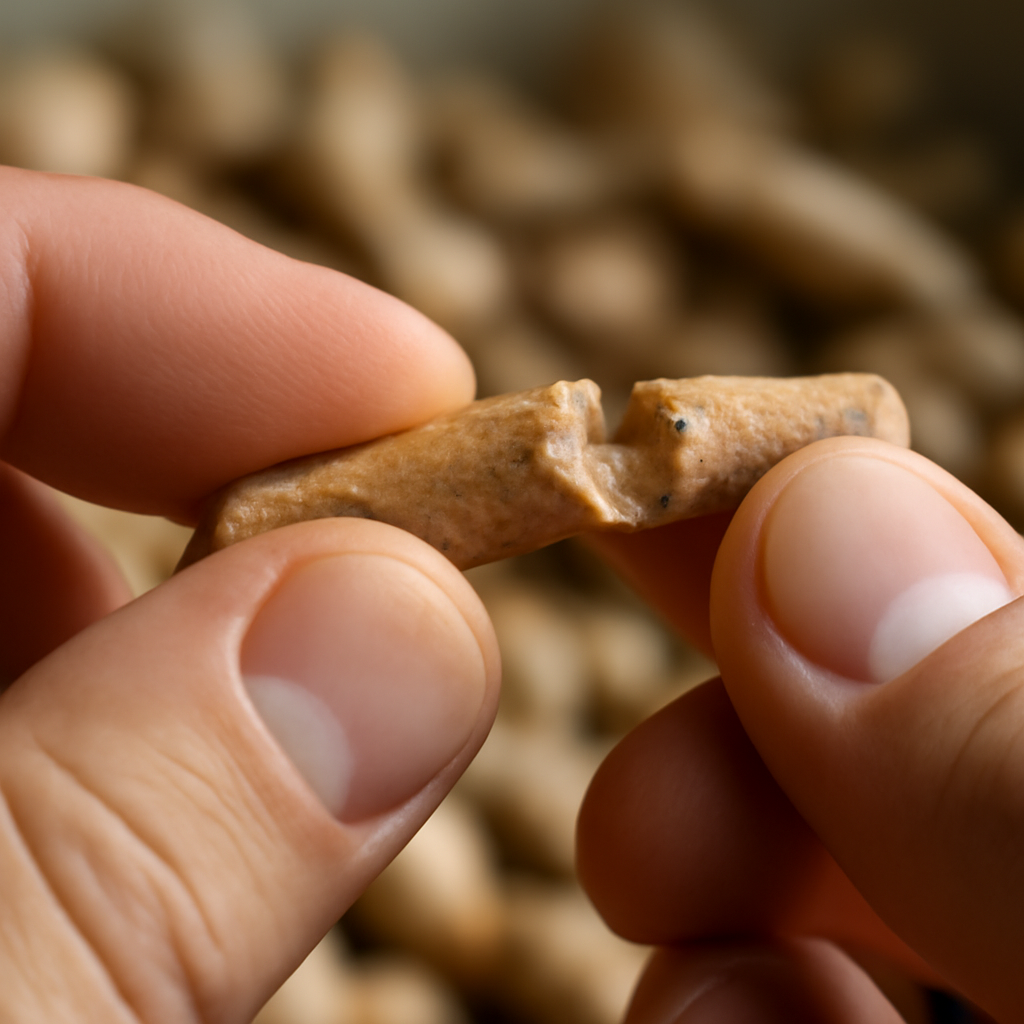
- Moisture sensitivity: Pellets are hygroscopic and readily absorb humidity. Exposure makes them swell, turn spongy, and crumble, leading to poor combustion and auger issues. Dry pellets look smooth and slightly glossy and snap cleanly; compromised pellets appear dull and soft.
Knowing what pellets are—and how they react to moisture—sets up the storage practices that keep them intact from bag to hopper.
Why proper storage matters
Wood pellets are highly hygroscopic, so they pull moisture from the air. Even brief exposure can swell the fibers, break the binder, and turn pellets into crumbly sawdust. That changes how they burn and how your grill performs. Proper storage preserves each pellet’s density and shape, which is what delivers predictable heat and clean smoke.
- Reliable heat and smoke: Dry, intact pellets ignite evenly, hold steadier temperatures, and produce less ash than damp, degraded fuel.
- Fewer equipment problems: Swollen or dusty pellets can bridge in the hopper, clog the auger, and strain motors or igniters. Keeping pellets dry reduces jams and premature wear.
- Better food outcomes: Consistent combustion prevents wide temperature swings that can dry out food or extend cook times.
- Safety and cleanliness: Minimizing loose wood dust and keeping fuel in good condition reduces mess and lowers the chance of accidental ignition around cooking areas. See general grilling fire safety tips.
In short, protecting pellets from moisture and contamination saves fuel, prevents headaches, and helps your cooker deliver the results you expect.
Store pellets in a dry, low-humidity place
Pellets stay sound when the air around them is dry. Aim to store them in an indoor, climate-controlled spot where relative humidity is consistently low (ideally below about 50%). Spaces like a utility closet, pantry, or a finished basement corner can work well. Garages and sheds often swing from cool to warm, which creates condensation—water that ruins pellets—so use them only if you actively control humidity.
Set up storage to fight moisture on multiple fronts:
- Elevate containers on shelves or pallets so they never touch concrete, which can wick moisture.
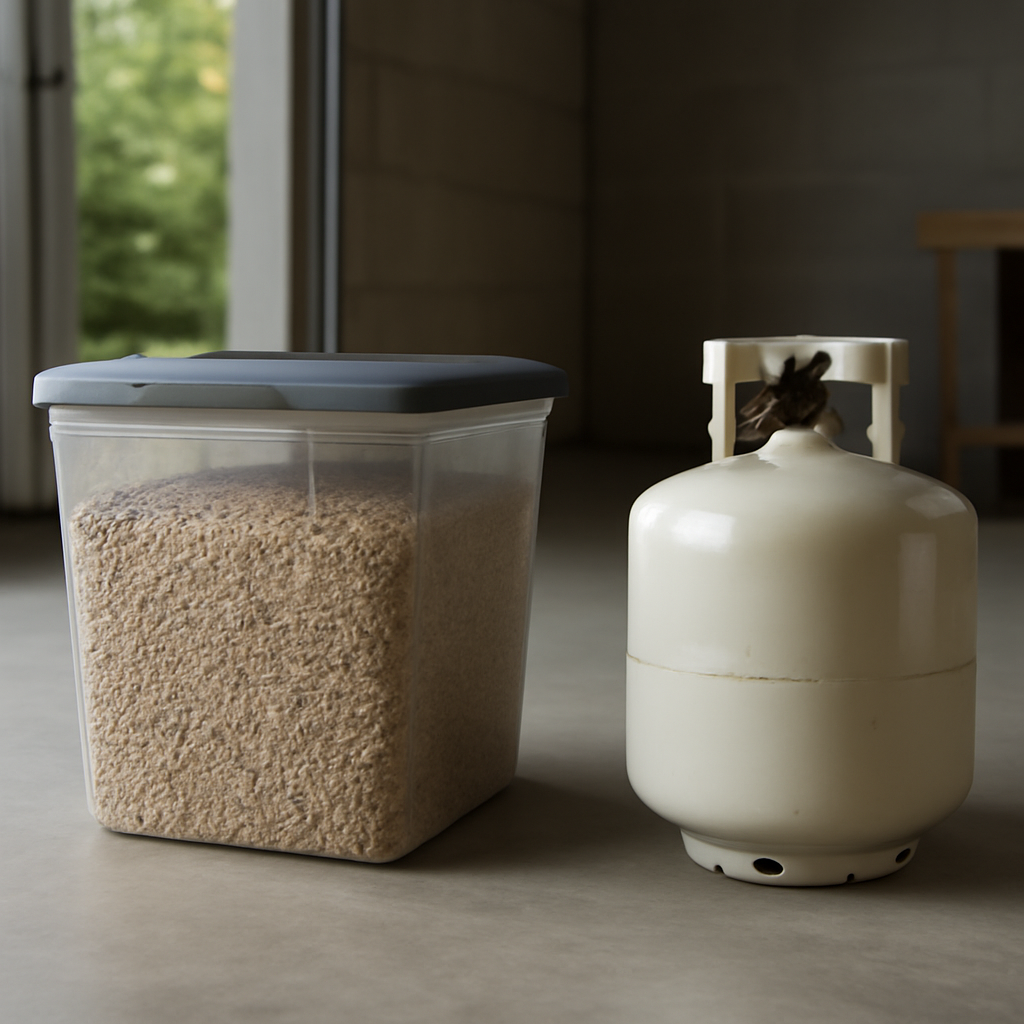
- Seal pellets in rigid, latching containers with gasketed lids; close them immediately after scooping.
- Ventilate lightly: leave a couple inches of clearance from walls to reduce condensation.
- Dry the air with a dehumidifier in damp seasons or climates; keep drains and sumps away from the storage zone.
- Monitor with a simple hygrometer placed near the containers so you spot rising humidity early.
- Keep moisture sources away: avoid laundry steam, utility sinks, exterior doors that bring in humid air, and sun-warmed windows that cause temperature swings.
- Use desiccants (food-safe silica gel) inside containers as a backstop against brief humidity spikes.
Don’t leave pellets in the original packaging
If you’re wondering how to store wood pellets so they stay dry, start by ditching the bag. Factory packaging is built for shipping, not long-term protection. Paper or poly bags use vent holes and thin seams that let humidity cycle in and out. Once opened, even a tiny rip can invite moisture, and bags can wick water from damp floors or split under their own weight.
Move pellets into a sealed container as soon as you open them. Focus on airtight, rigid options and smart handling:
- Choose airtight containers: Gasket-lid storage bins, galvanized cans with tight lids, or 5-gallon buckets with screw-on gamma lids.
- Reduce air space: Fill containers nearly full to limit humid air; add a fresh desiccant pack on top (not in the grill).
- Portion smartly: Divide bulk pellets into several smaller containers so you aren’t reopening one big bin repeatedly.
- Bag-in-bin, not bag-only: If you must keep the bag, place the entire sealed bag inside a lidded tote as a secondary barrier.
- Label and organize: Mark wood type and opened date; keep fines/dust contained for easy cleanup.
- Keep off concrete: Elevate containers on a shelf or pallet to avoid condensation wicking.
Keep pellets away from heat and open flames
Heat and open flames threaten pellet quality and safety. Elevated temperatures drive moisture in and out of pellets, causing them to swell, crumble, and form clumps. Stray embers or sparks can also ignite pellet dust, which burns fast.
Keep storage well separated from any ignition source and radiant heat.
- Maintain distance: Store pellets several feet from grills, smokers, fire pits, fireplaces, space heaters, and water heaters. Don’t stage refills beside a hot cook.
- Avoid direct sun: Sun-warmed patios, sheds, and truck beds build heat that leads to condensation inside containers.
- Use a sealed, sturdy container: A rigid bin with a tight lid limits airborne dust and shields pellets from radiant heat better than thin, flexible materials.
- Elevate and separate: Place containers on a shelf or pallet, not against hot appliances. Keep a noncombustible barrier between storage and cooking areas.
- Control sparks and dust: Sweep up spills, keep lids closed, and don’t open containers near active ash cleanouts or open burners.
When you’re ready to cook, move only what you need to the grill area, then return the container to its cooler, safer spot.
Check pellets for moisture before loading the hopper
Before you pour pellets into the hopper, take a minute to confirm they’re dry. Moist pellets break apart, swell, and can bridge or jam the auger. A quick field check avoids headaches.
- Look: Pellets should be hard and uniform. Skip any that look swollen, cracked, fuzzy at the edges, fused into clumps, or leave excessive fines in the bin.
- Feel: Roll a few between your fingers. Dry pellets feel slick and solid; damp ones feel spongy or cool and smear under pressure.
- Break test: Snap one in half. A dry pellet breaks cleanly with a crisp edge; a compromised pellet crumbles or smears.
- Sound test: Shake a handful in a metal scoop. Dry pellets rattle sharply; damp pellets sound dull and thuddy.
- Smell: A musty or sour odor suggests moisture uptake.
- Hopper check: Make sure there’s no condensation, caked dust, or leftover fines that could promote clumping.
If anything seems off, don’t mix suspect pellets with good stock. Isolate them in a breathable container and pull a fresh handful from a different bag. Load only what passes all checks, and use a dry scoop and quick lid-on, lid-off routine to limit exposure while filling.
Empty the hopper after each cook
After every session, get pellets out of the hopper. Pellets pull moisture from humid air, and a warm grill cooling down can create condensation inside the hopper. Leftover fuel can swell, crumble into fines, and bridge the feed opening, leading to erratic fires or an auger jam next time.
- Finish the shutdown cycle: Let the grill cool until it’s safe to handle. Don’t open the hopper while everything is roaring hot.
- Scoop pellets to a sealed bin: Use a clean scoop to move remaining pellets into an airtight container with a gasketed lid. Keep the bin dry and dedicated to pellets only.
- Clear the auger path: Briefly run the prime/feed function (or turn the dial to feed, if your controller allows) to purge the last pellets from the auger, then stop as soon as they stop feeding.
- Remove fines: Vacuum loose sawdust from the hopper and throat with a clean, dry shop vac. Avoid introducing moisture.
- Close it up: Shut the hopper lid afterward to keep out dew and insects.
Emptying the hopper adds a few minutes, but it keeps fuel consistent, prevents clumps and jams, and protects your grill’s feed system.
When to replace compromised pellets
Replace any pellets that show clear signs of moisture or breakdown. Burning compromised pellets leads to hard starts, erratic temperatures, dirty smoke, and auger jams that are tedious to clear.
- Soft, spongy, or swollen: Pellets compress under light finger pressure or look puffed.
- Clumped or fused: Chunks that won’t separate indicate moisture exposure.
- Heavy fines/dust: A noticeable layer in the bag or hopper, or pellets that crumble easily.
- Mold or off-odors: Musty, sour, or chemical smells; visible fuzz or discoloration.
- Bag moisture stains: Damp corners, condensation, or water rings on the packaging.
If pellets feel cool from a temperature swing but remain hard, smooth, and snap cleanly, you can spread a small batch in a single layer to air-dry briefly in a dry, ventilated spot. Do not try to “re-dry” soaked pellets; once fibers swell, they won’t burn predictably and can cause excessive ash. Never attempt to dry pellets in an oven, grill, or near heaters or open flames.
Before each cook, inspect what’s in the hopper. If you find clumps, swelling, or unusual dust near the auger, remove and replace the load. Good storage habits—and emptying the hopper after each cook—reduce waste and keep performance consistent.
Keeping pellets dry comes down to smart storage, careful handling, and routine checks. Use the tips above to protect your fuel and avoid performance issues. If pellets get compromised, swap them out and start fresh.