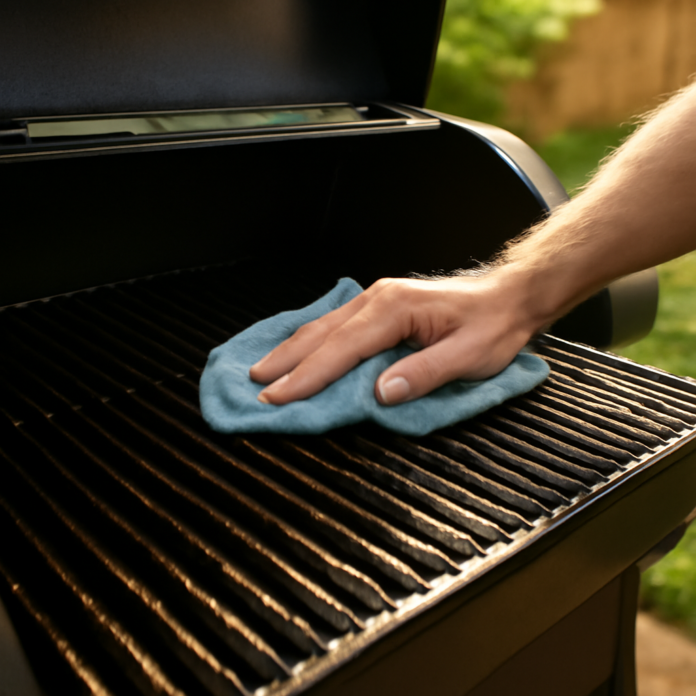
Season a pellet smoker correctly before first use and you avoid off flavors, rust, and uneven cooking later. This guide explains what seasoning means, why it matters, and the correct order of burn-off and oiling. You’ll get a checklist of tools, a clear step-by-step process, differences from other smoker types, common mistakes, how often to re-season, and what to cook first.
What seasoning a pellet smoker means
Seasoning a pellet smoker means preparing the cook chamber so its metal surfaces are clean, stabilized, and lightly protected before you cook. It’s not about adding spices or “smoke flavor.” Instead, you’re using heat—and a whisper-thin coat of neutral, high-smoke-point cooking oil on select parts—to create a dry, polymerized film. That cured layer helps resist rust, tempers stickiness on first cooks, and establishes a neutral, food-safe baseline.
- What it involves: A controlled empty run to purge manufacturing residues, followed by curing a micro-thin oil film on the interior’s working surfaces.
- Targets: Cooking grates, the heat diffuser/deflector, and the drip tray inside the cook chamber.
- Avoids: The hopper, auger, controller face, temperature probe, and the firepot—these are not oiled.
- Outcomes: Cleaner initial aroma, improved corrosion resistance, easier cleanup, and more predictable thermal behavior in early cooks.
- Not the same as: Routine preheating or general cleaning; seasoning is a one-time prep you revisit only as needed.
Think of it as curing cast iron: a thin, durable film—not a glossy coat—bonded to working metal surfaces. Done correctly, it protects the smoker without gumming up parts or masking food’s natural flavor.
Why seasoning before first use matters
Seasoning a pellet smoker before the first cook does three critical things: cleans the cook chamber, protects the metal, and proves the machine under heat. Manufacturing oils, machining dust, and shipping residues can linger where you can’t see them. A proper heat cycle drives those off, cures paints and gaskets, and evaporates trapped moisture so rust doesn’t start early. A light oil application then polymerizes into a thin protective layer on grates and walls. You’ll also learn how your controller, fan, and auger behave so your first meal isn’t a test flight.
- Remove residues: Purges factory oils, adhesives, and shipping odors that would taint food.
- Cure finishes: Sets paints, seals gaskets, and dries the body to deter early corrosion.
- Protect surfaces: Builds a thin, low-stick oil film for easier releases and cleanup.
- Prove performance: Confirms ignition, pellet feed, airflow, and temperature stability under real heat.
- Improve flavor: Prevents bitter, chemical notes and establishes a clean smoke baseline.
- Reveal quirks: Exposes hot spots or leaks so you can adjust before cooking.
Do all of this with an empty cooker. Food should not go on until the seasoning cycle is complete and the unit has cooled.
Tools and supplies you’ll need
Before you power the auger, gather these essentials so the seasoning process is efficient, clean, and safe.
- Owner’s manual: Confirms any brand-specific oiling points and startup temps.
- Hardwood pellets: Use manufacturer-recommended pellets; have enough for an extended burn-in.
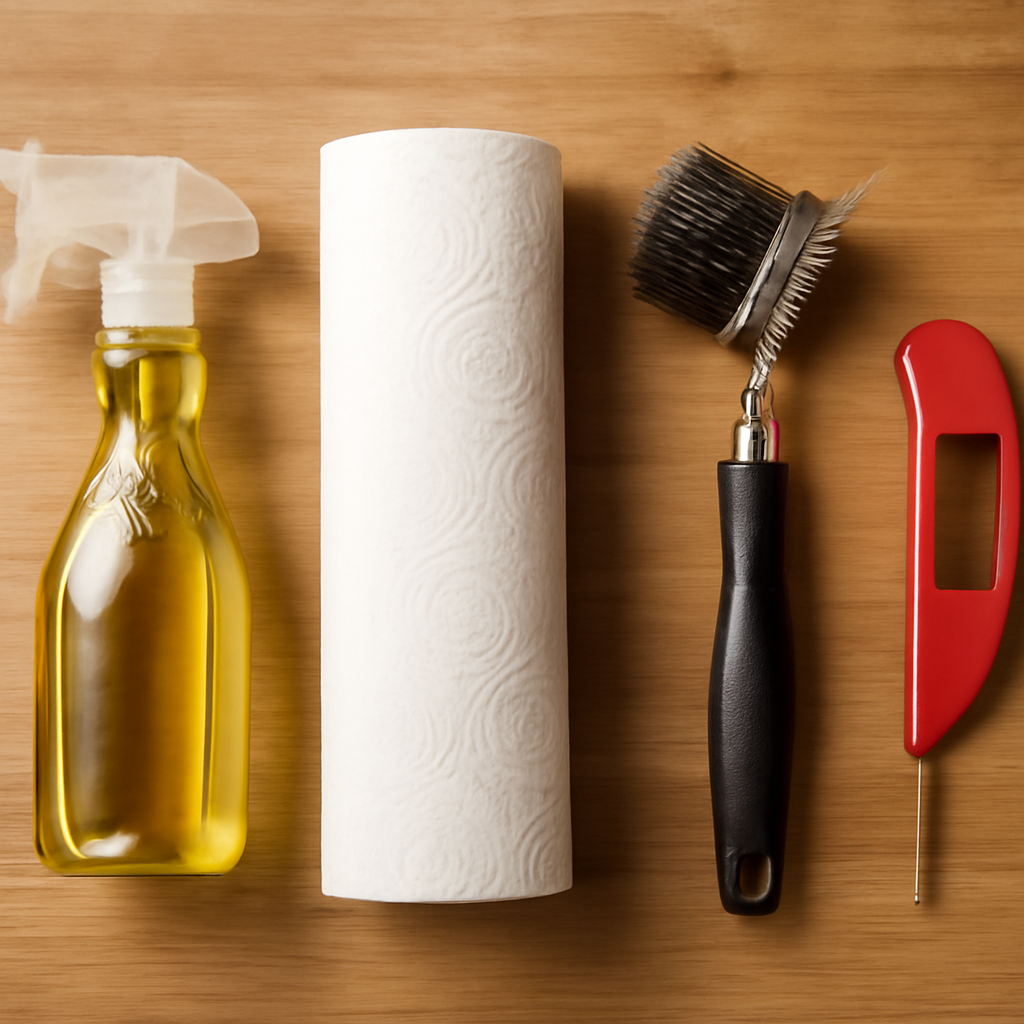
- High–smoke point cooking oil: Canola, grapeseed, or refined avocado; bottle or pump sprayer for light, even coating.
- Lint-free towels/paper towels: For initial wipe-down and removing excess oil.
- Soft grill brush or non-shedding pad: Compatible with your grate finish; avoid overly aggressive bristles.
- Heat-resistant gloves: Protects hands when placing grates or checking components during warm-up.
- Mild dish soap and warm water: For a quick pre-seasoning wipe of grates and exterior; dry completely.
- Shop vac/ash vacuum: Helpful for cleaning manufacturing dust and post-burn ash from the fire pot.
- Digital probe or oven thermometer: Verifies controller readings during the burn-in.
- Screwdrivers/Allen keys: Tighten fasteners on handles, shelves, and hopper lid before heat cycles.
- Aluminum foil or drip pan: Lines lower surfaces to catch oil mist and simplify cleanup.
- Outdoor-rated extension cord (if needed): Heavy-gauge and weather-safe to power the smoker reliably.
- Flashlight: Quickly inspect seams, gasket fit, and the burn pot area.
Stage these items within reach; once the smoker heats, you shouldn’t leave it unattended to chase supplies.
Burn-off vs. seasoning: the correct order
Burn-off and seasoning are not the same step. Burn-off is a dry, high-heat run that incinerates factory oils, dust, and shipping residues. Seasoning follows: a thin coat of high–smoke point oil is applied to clean, cool metal, then cured at moderate heat to lay down a protective film that resists rust and sticking.
The correct order is burn-off first, seasoning second. If you oil before burning off, you risk sealing contaminants to the steel and creating tacky build-up. Instead, start with an empty cooker and clean grates. Run it hot with the lid closed until any sharp chemical odors fade and visible white smoke settles; then power down and let it cool completely. Once cool to the touch, wipe on a very light film of oil (no pooling) on grates, diffuser, and the cook chamber walls—avoiding the firepot, igniter area, and temperature probe—then cure at a moderate setpoint.
- Do: Burn-off at high heat with no food or oil inside.
- Do: Apply a thin oil coat only after cooling.
- Don’t: Over-oil or spray aerosols near the firepot.
- Don’t: Reverse the order; it traps residues under the cure.
Step-by-step: season a new pellet smoker
Follow this practical sequence to season a pellet smoker before first use.
- Unpack and wash parts: Remove grates, drip tray, and heat diffuser. Wash with warm, soapy water, rinse, and dry completely.
- Reassemble and check airflow: Install diffuser and drip tray correctly, set the grease bucket, and confirm vents and door seals sit properly.
- Load and prime pellets: Fill the hopper with food‑grade hardwood pellets. Use the controller’s prime function (or manual feed) until pellets reach the firepot.
- Do the initial burn‑off: Start the smoker with the lid open until ignition, then close the lid and run a hot, empty burn to clear factory oils. Let it run roughly an hour, following your manual’s guidance.
- Apply a light oil coat: After it cools to safe touch, wipe a thin film of high‑smoke‑point oil on grates, diffuser, and bare steel interior surfaces. Avoid the temperature probe, fan inlets, and gaskets.
- Cure the oil: Restart and run at a moderate cooking temperature until the oiled surfaces darken to a dry, satin sheen without visible pooling.
- Cool, clean, confirm: Power down, let it cool fully, empty loose ash from the firepot (if accessible), and wipe any excess oil. On next startup, verify steady temps and smooth pellet feeding.
How pellet seasoning differs from other smoker types
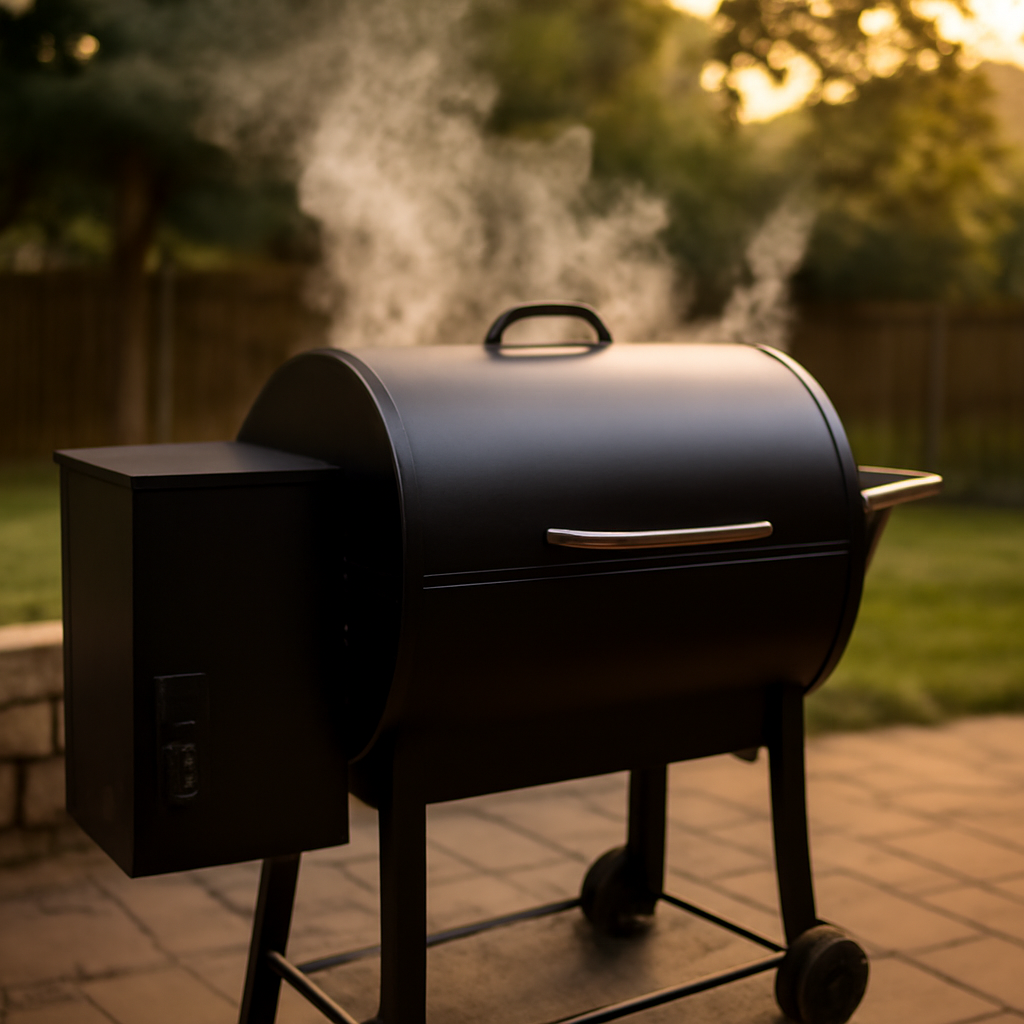
Seasoning a pellet smoker isn’t the same as breaking in a charcoal, offset, or gas unit. You’re heat-curing a fan-forced, thermostatically controlled appliance with sensors and an electric ignition system, not just coating steel with heavy smoke. The goal is a thin protective layer on the right metal surfaces while keeping sensitive parts clean and dry.
- Protect components: Keep oil off the igniter rod, temperature probe (RTD), fan intake, and controller area. Lightly oil grates and the heat diffuser/deflector—nothing else.
- Fuel and moisture: Use only food-grade pellets. Run the cook chamber dry; skip water pans during the initial heat cycles. Prime the auger on first startup so pellets reach the firepot smoothly.
- Airflow matters: Pellet smokers rely on constant convection. Leave the exhaust open and don’t block vents; airflow helps cure coatings evenly.
- Surface differences: Many interiors are powder-coated or porcelain-lined. Don’t slather walls with oil. Apply a whisper-thin coat only to bare steel areas to deter rust.
- Controller behavior: Expect steady, set-and-hold temperatures if the seasoning run goes well—unlike damper-driven pits that need manual tuning.
If you’re comparing designs before you season, this overview can help: compare popular pellet smokers.
Common mistakes to avoid
Before the first burn-off, keep the basics of grilling fire safety tips in mind – a hot smoker venting smoke needs clearance from siding, rails, and anything flammable.
Seasoning sets the tone for clean smoke and stable temps. Avoid these common missteps that cause off flavors, soot, or safety problems.
- Leaving packing residue: Remove plastic films, zip ties, manuals, and shipping oils. Wash grates and wipe interior surfaces; nothing foreign should remain inside.
- Skipping auger priming: Make sure pellets feed to the fire pot before the first long run. A starved fire can flame out and soot the cook box.
- Seasoning with food or strong flavors: Run the cooker empty. Use dry, quality hardwood pellets; avoid starter fluids, soaked pellets, or heavily flavored blends at this stage.
- Over-oiling and sprays: If you oil, apply a very thin coat to grates only with a cloth. Don’t spray aerosols onto hot metal or oil the fire pot, heat deflector, or electronics.
- Running too cool or too short: Don’t rush it. Hit a proper high-temp burn-off, then a steady seasoning cycle without repeatedly opening the lid.
- Choking airflow: Keep the chimney and vents clear. Don’t season in a garage or tight alcove; allow safe outdoor clearance.
- Skipping post-burn cleanup: After cool-down, vacuum ash from the fire pot and bottom pan to prevent dirty starts and back-burns.
How often to re-season a pellet smoker
You don’t re-season a pellet smoker on a calendar; you do it when the protective layer has been stripped or compromised. Routine cooks actually help maintain it, so full re-seasoning is only occasional. Plan a light maintenance touch-up more often: after a hot burn-off or scrub, wipe a very thin coat of high-smoke-point oil on grates, diffuser, and interior where you exposed bare metal.
Do a full re-season when you notice any of the following:
- Bare metal or orange dust after scraping, sanding, or a deep clean.
- Mold incident or rancid, sticky grease smells after storage or humid weather.
- Grease fire or heavy flare-up that scorched off the film.
- Part replacements like new grates, heat deflector, or a new barrel/body section.
- Caustic cleaners used on interior surfaces.
- Long downtime or exposure to driving rain that left condensation and light rust.
How often this happens depends on your climate, how clean you keep it, and what you cook. Many backyard users find a full re-season is only needed occasionally, while frequent high-heat cleaning or wet, salty air may push you to do it more often. Between full cycles, consistent light oiling after cleanouts preserves the layer and reduces how often you need the whole process.
What to cook first after seasoning
After seasoning and cool-down, choose a first cook that’s forgiving, uses modest fat to help the fresh patina, and lets you learn your smoker’s airflow and controller behavior. Aim for a moderate smoking temperature and a mild-to-medium pellet, so you taste the smoke without overpowering the meat.
- Chicken thighs or wings: Crisp skin and enough fat to be forgiving, great for spotting hot zones and learning when to rotate.
- Sausages or brats: Quick, steady cook that gently adds fat to grates and helps you watch grease management.
- Pork ribs: A longer, low-stress session that teaches pellet consumption and how your pit holds steady over time.
- Optional bacon start: Run a small tray of bacon briefly at the beginning to lightly coat grates; avoid heavy-sugar rubs here.
Keep seasonings simple, skip sticky glazes on day one, and use a reliable probe to verify temperatures. Resist lifting the lid often; take notes on smoke quality, any hot spots, and pellet use. Hold off on pricey roasts, very lean cuts, or delicate fish until you’ve logged a couple of straightforward cooks and know how your smoker breathes.
With a planned seasoning routine, you’ll start your pellet smoker on the right foot. You now know what seasoning means, why it matters, the right burn-off order, and the steps to follow. Keep the common mistakes in mind, re-season as needed, and choose a simple first cook to break in the grates.